Attach Elastic

Disclosure: This site contains affiliate links. As an Amazon Associate, I earn from qualifying purchases. Clicking on links, and purchasing products, may result in the seller paying us compensation - at no extra cost to you. Affiliate links are in green.
Also see:
Notes From The Workroom & Trail
10 Easy Sewing Projects
10 Simple Stress Busters
Clothing Patterns
Properly Attached Elastic
Properly attached elastic will create a nice fit around a leg opening of a gymnastic suit or swimsuit. Elastic allows movement, while keeping the garment in place. Elastic can be "loose", such as when it is pulled through the waistband of pajamas, or stitched to the edge of the garment, such as the leg opening of a swimsuit, leotard or pair of panties.
I have never been able to find store-bought panties or swimsuit bottoms that fit properly around the legs. I think they just cut the back in a general "V" shape and hope it fits and covers well enough. Unfortunately, it does not. This is why more and more women are sewing their own swimsuits and lingerie. Mass production simply doesn't work with something this fitted.
Swimsuit Or Leotard Leg Elastic
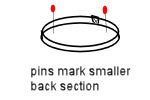
Use 3/8" swimsuit elastic. Cut a length of elastic according to your pattern instructions. The pattern I use sets a 1:1 size ratio on the front of the leg and 3/4 the measurement of the back of the leg opening (marked by notches on my patterns). In other words, the elastic length across the front exactly equals the length across the front of the leg opening, but the elastic that stretches across the back is only 3/4 of the distance across the leg opening on the back. This means that the leg opening will fit flat across the front of the leg and will be slightly gathered across the back. Your pattern might differ in how it is marked, so follow directions on your pattern.
Cut the elastic to the appropriate length according to your pattern instructions (be sure to allow 1/2" for overlap of elastic ends). Stitch the ends together to create a circle.
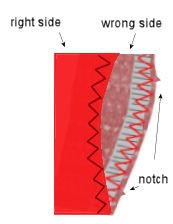
With garment right side out, pin the elastic to the wrong side of the garment's leg opening, matching pins to notches, and lining up elastic with outer, cut edge of opening. Use one hand to hold the garment, and the other to stretch the elastic as it is fed through the sewing machine, elastic side up.
Use a zig-zag stitch to stitch the elastic into place. Be sure that the stitch encloses the edge of the elastic (in diagram on right the zig-zag goes to the outer edge of the elastic).
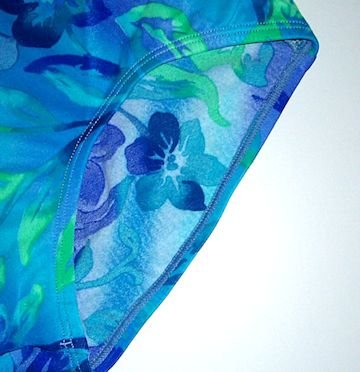
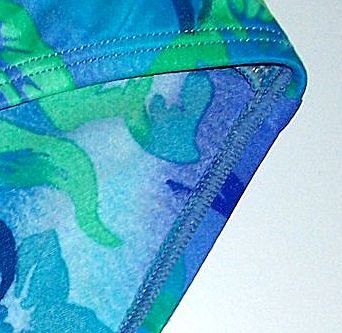
When the elastic is in place, turn the outer edge under. Pin into place. Stitch the hem using a zig-zag or straight stitch, stretching firmly as you go. This creates a nicely hemmed edge.
NOTE: You can use this same method for the arm opening and neckline, depending on the pattern style. Check your pattern instructions.
Waist Elastic
Waist elastic allows for the difference between the waist measurement and the hip measurement if an opening (such as side or front zipper) is not used. Without it, you could not pull the pants up over your hips. Our pajama series teaches how to create an elastic waistband. We also provide instructions for adding a decorative cuff.
For our free pajama pattern series, go to: FREE Pajama Pattern: Lesson 3.

Sewing Lessons


Articles & Tips


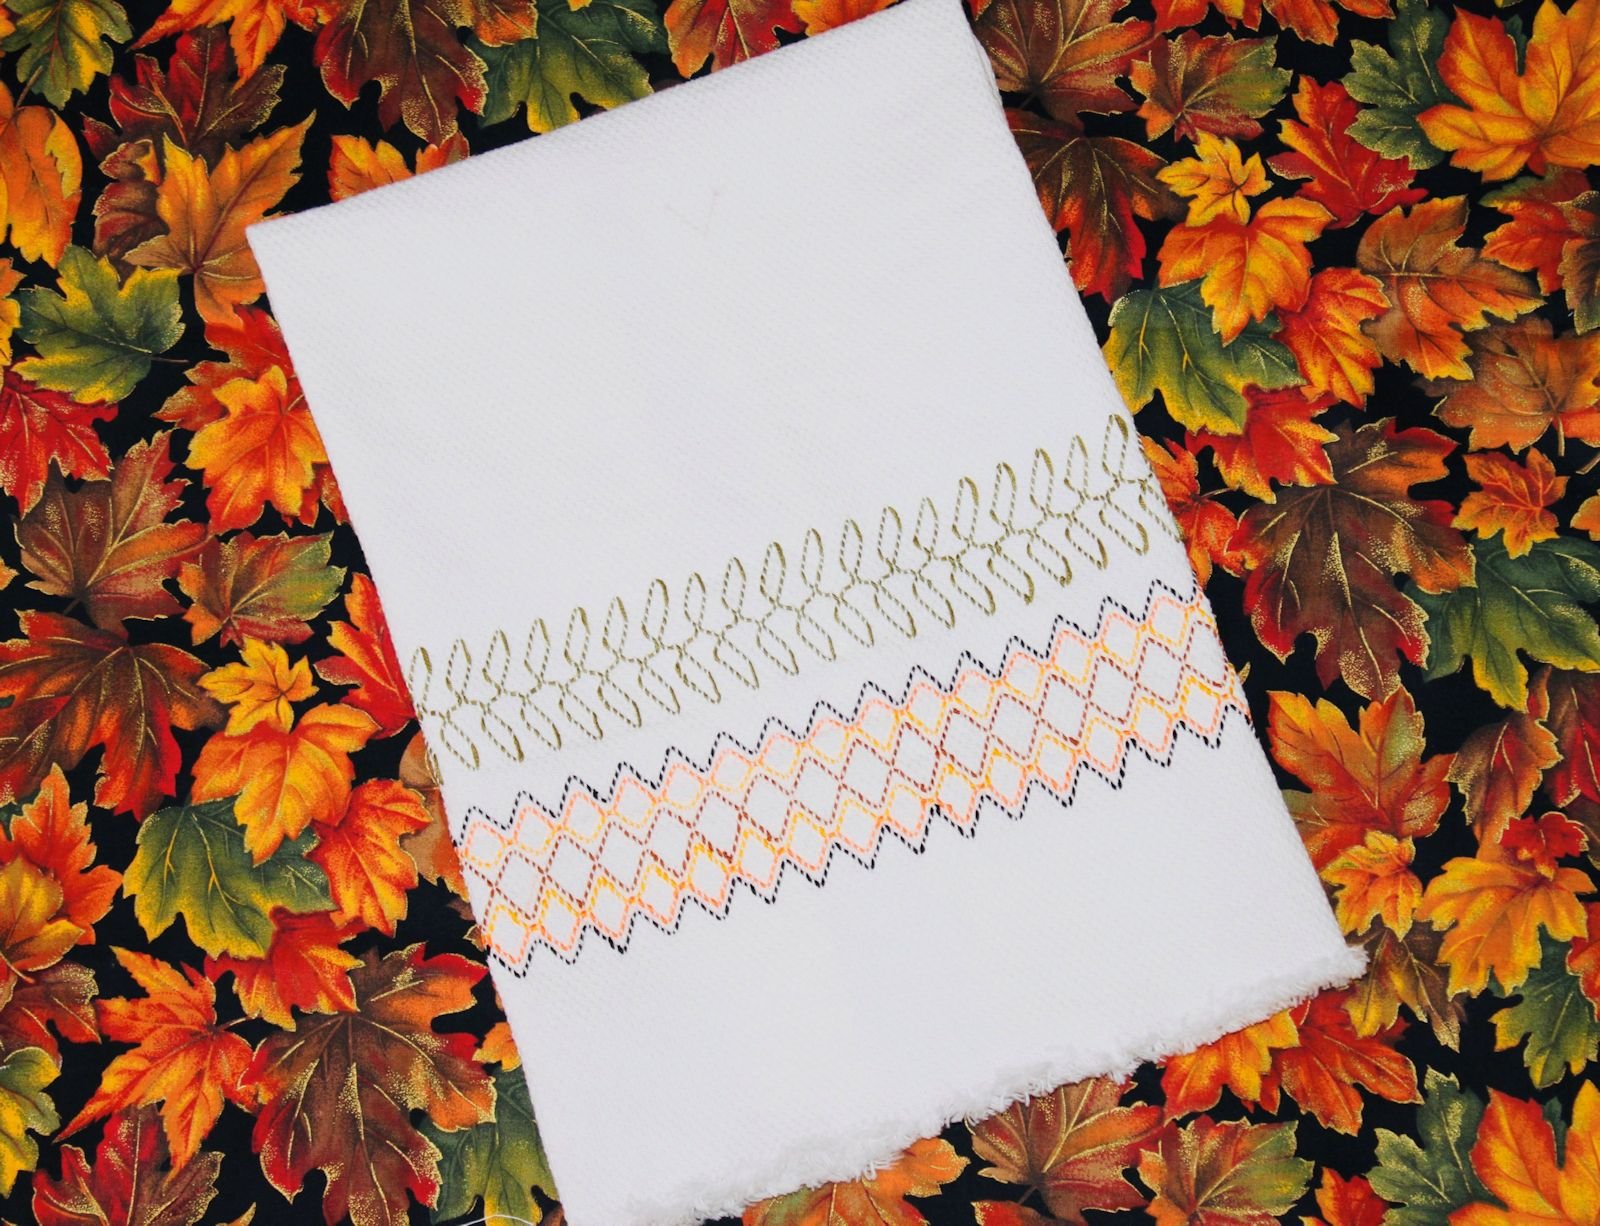
Learn Intarsia and Tapestry crochet. Bring Hygge into your home with this cozy, Scandinavian minimalist Christmas tree design. Use for wash cloths, pillows, hot pads.