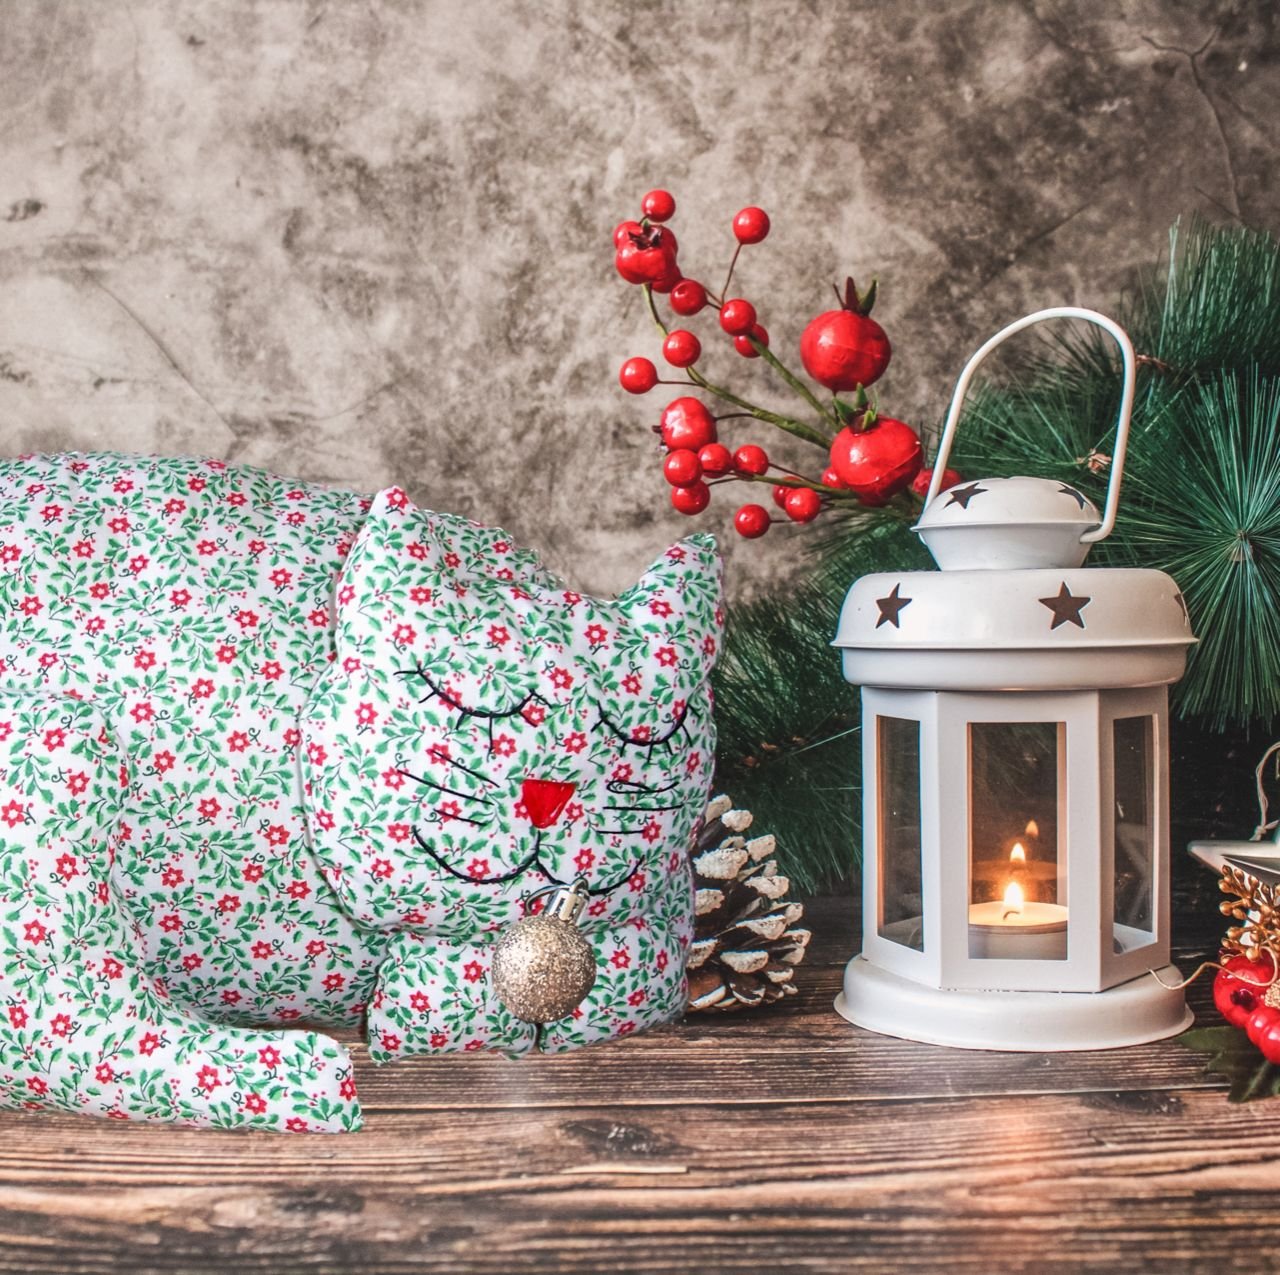
Cat Applique
NOTE: This lesson first appeared on our previous site, CraftAndFabricLinks.com.
Disclosure: This site contains affiliate links. As an Amazon Associate, I earn from qualifying purchases. Clicking on links, and purchasing products, may result in the seller paying us compensation - at no extra cost to you. Affiliate links are in green.
Also see:
Articles & Tips
Applique
Craft & Decor Projects
Home Improvement

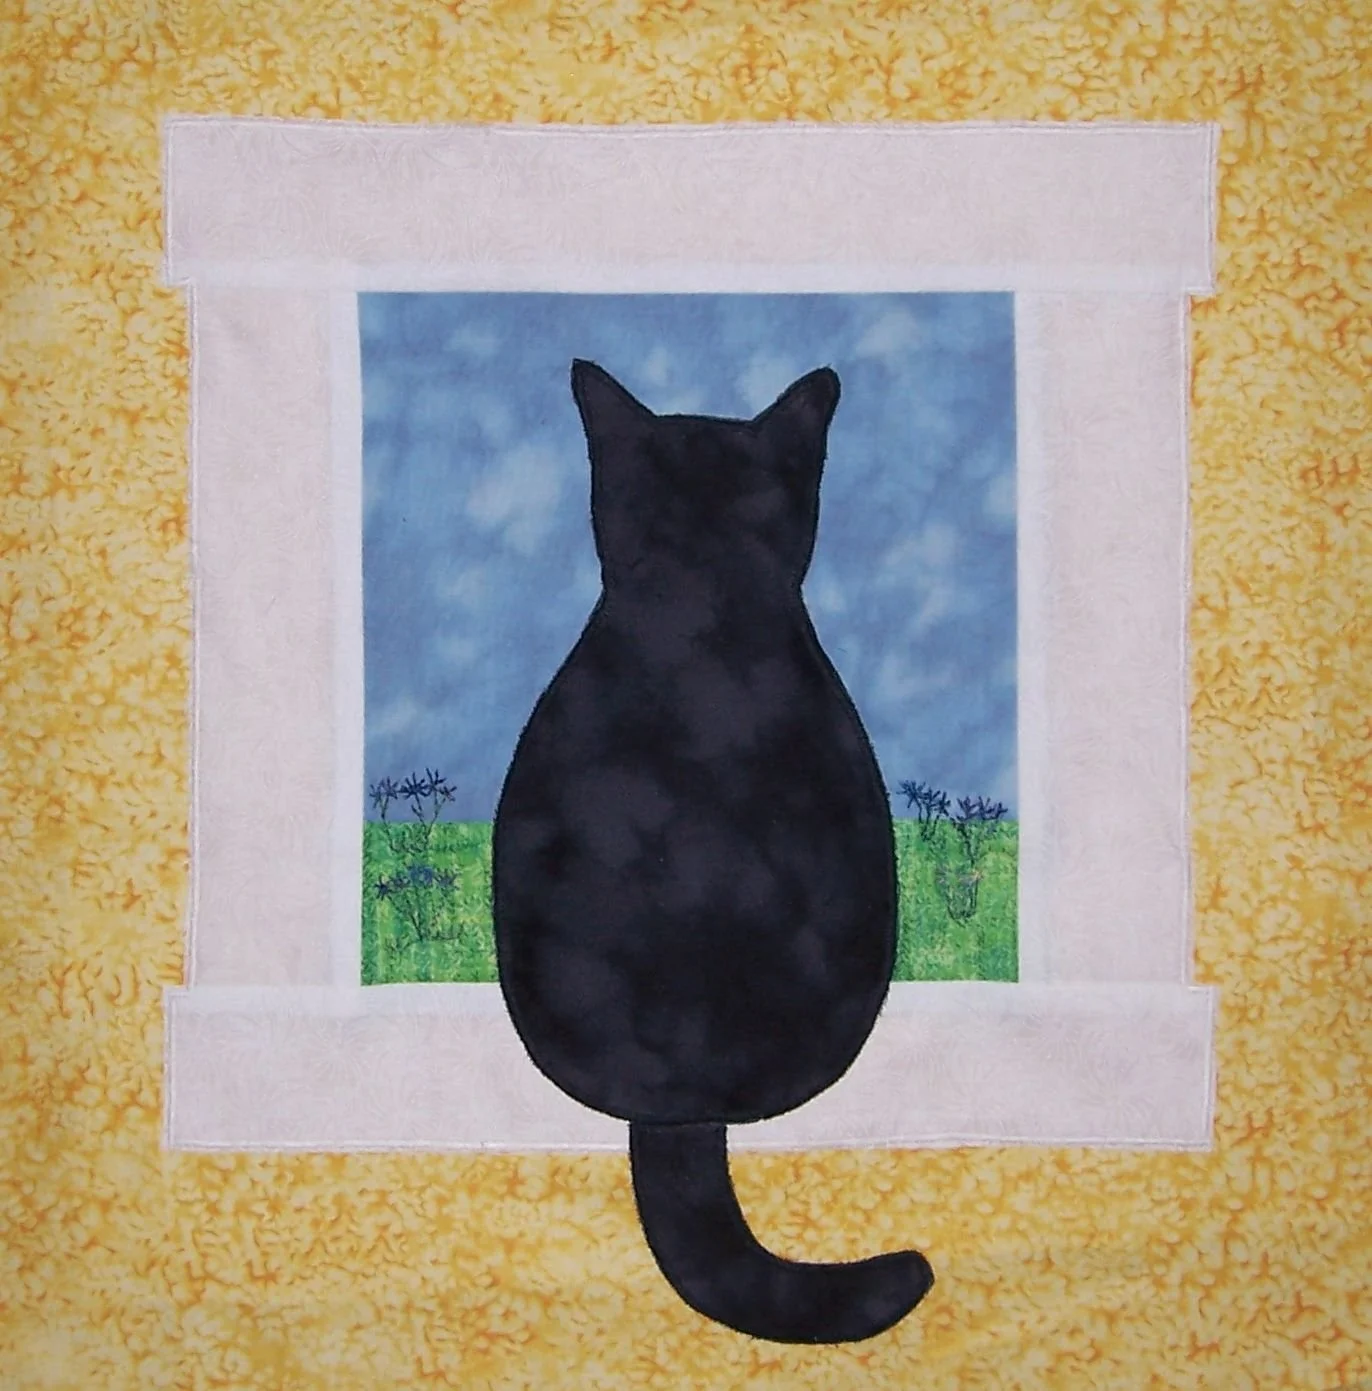
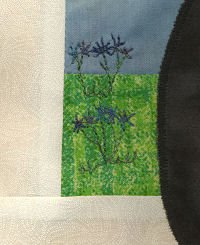
Cat Gazing At Spring Wildflowers
Machine or hand embroidery adds a nice detail to the landscape. The flowers for this piece were created by free motion embroidery - quick and easy!
Visit our free embroidery stitch glossary to learn easy hand embroidery stitches.
I will be adding a lesson on free motion embroidery soon, and will link to it from this page.
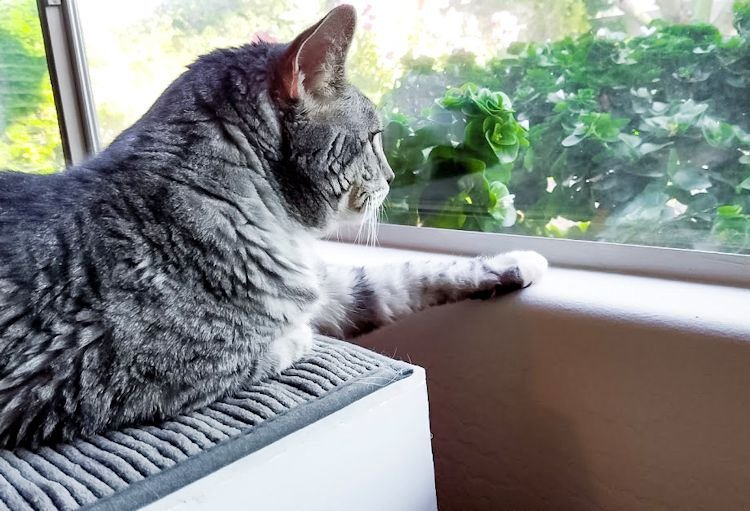
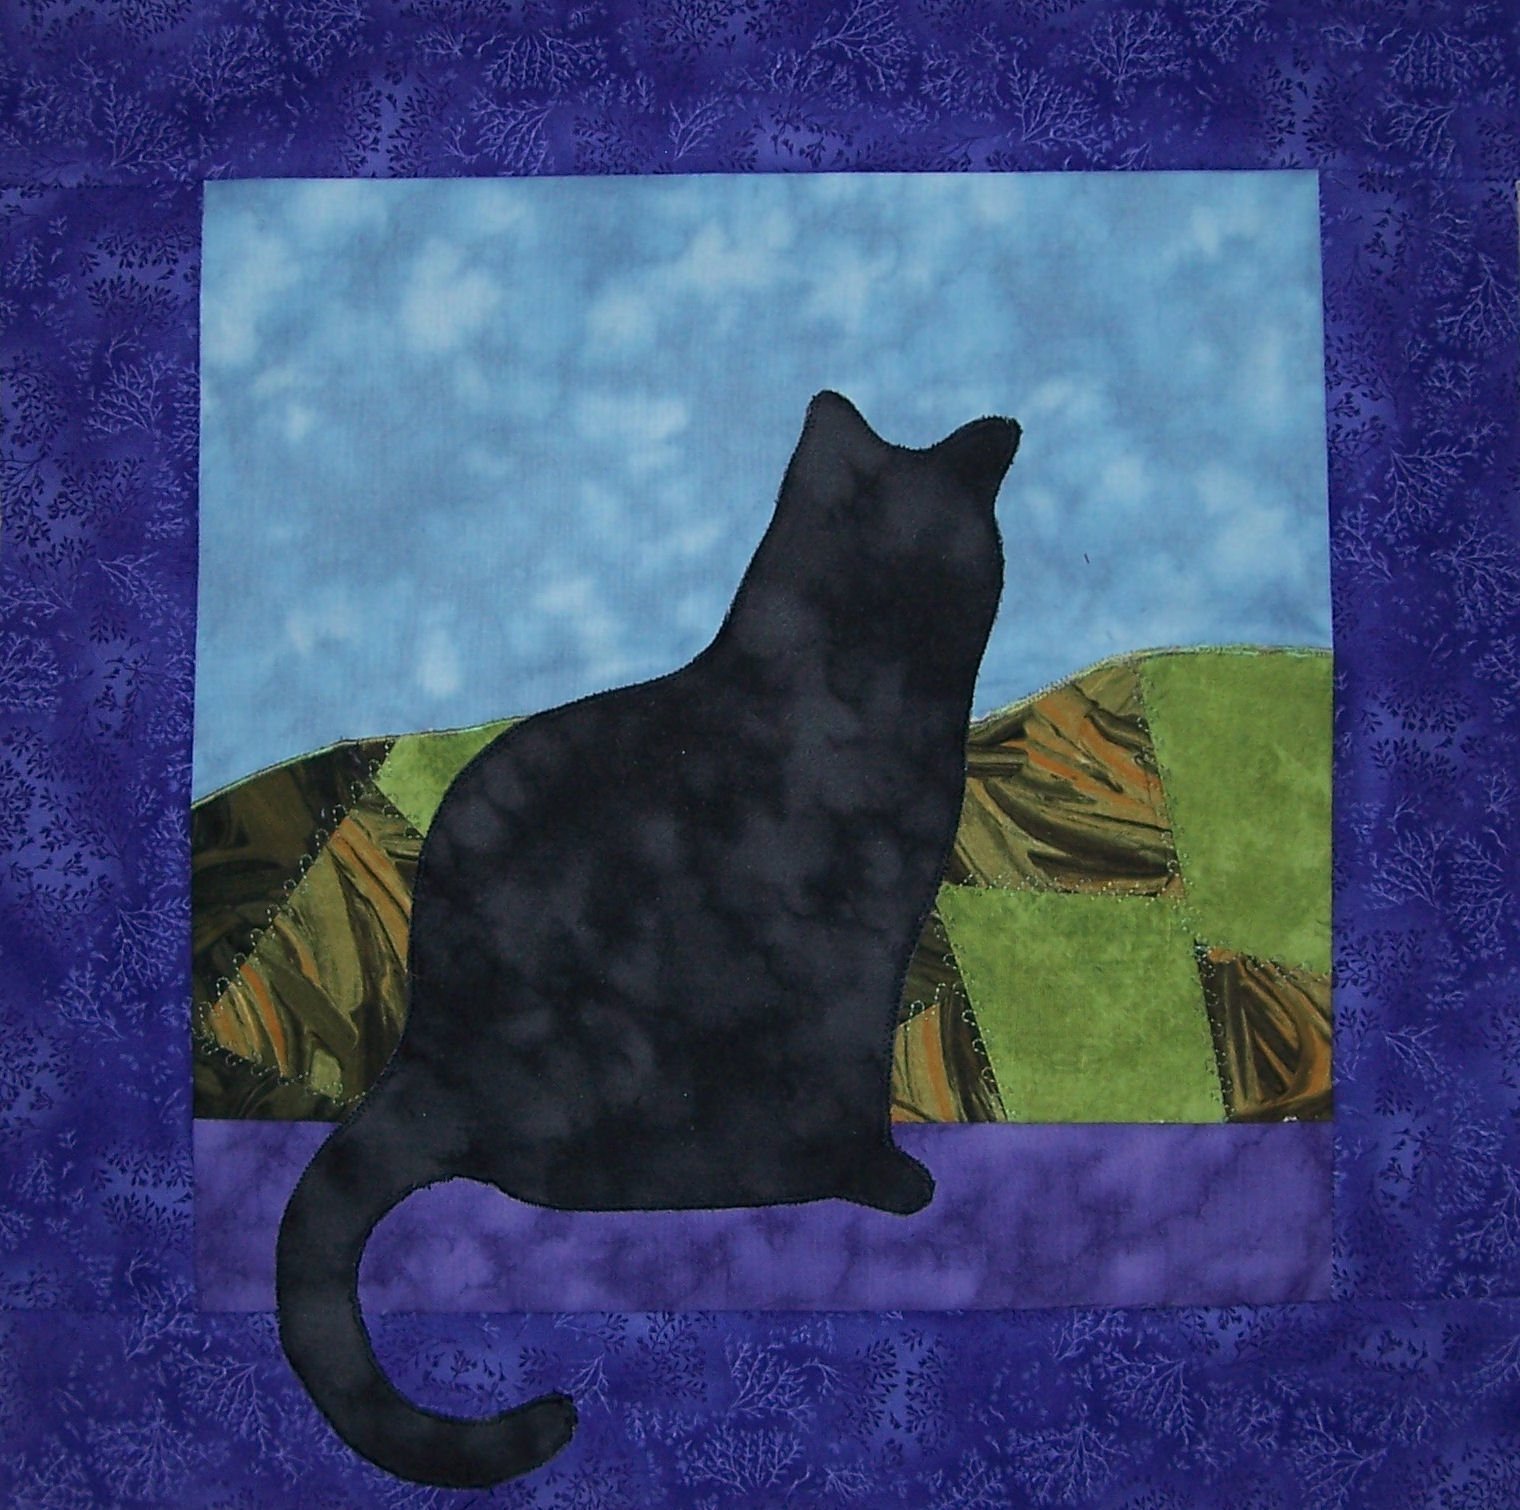
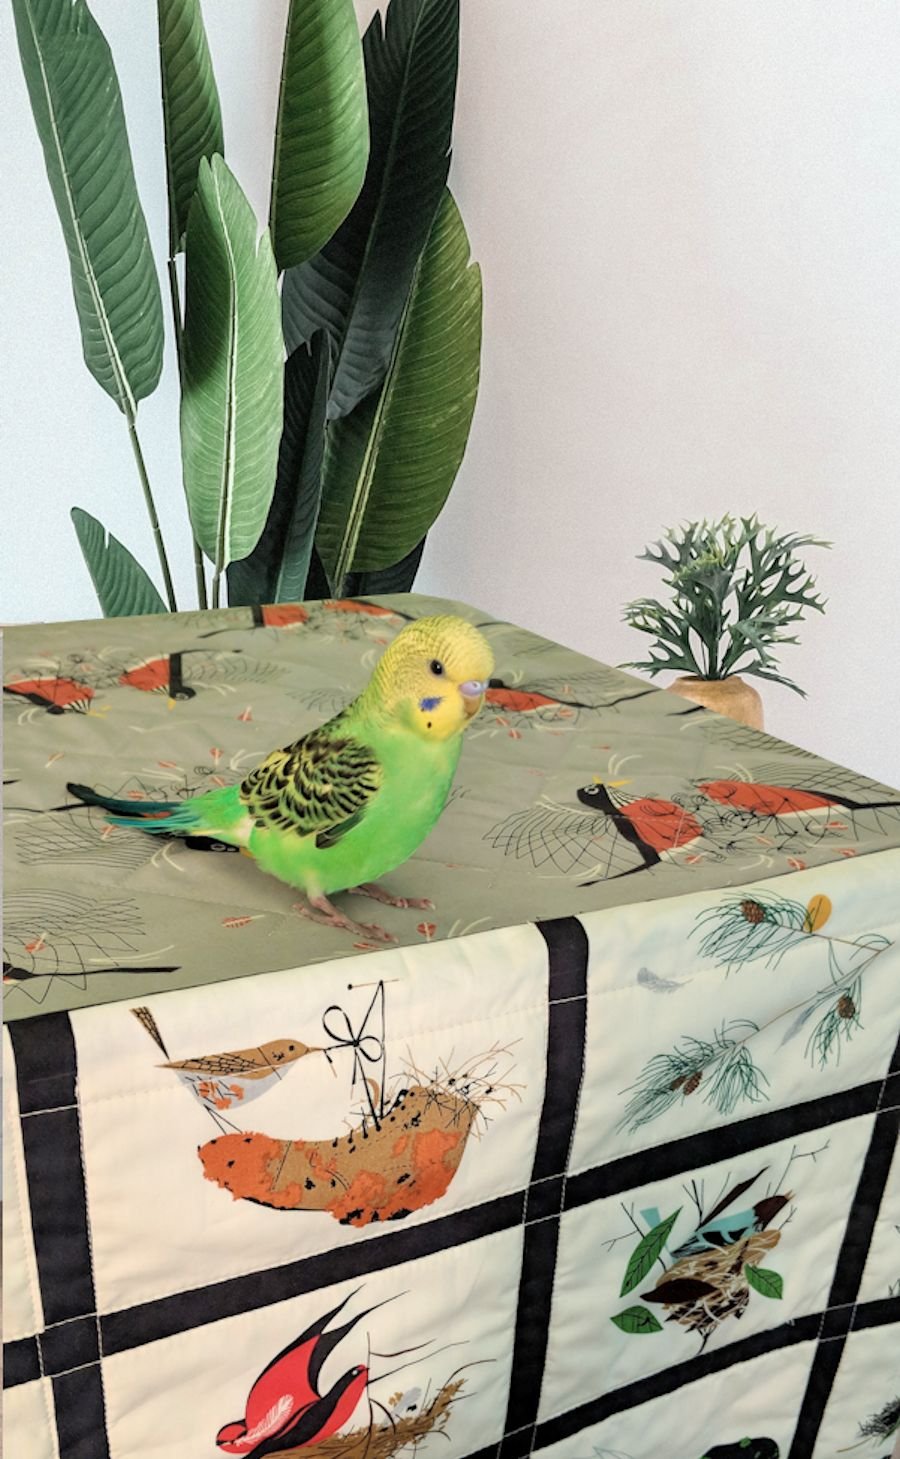
Yes, I am a bit obsessed with cats gazing out windows. My Gazing Cat Applique (shown below) is a bit more complex, using the crazy quilt technique to create the background hills.
Visit related projects:
Cat Applique Finished Size
The finished size is 16” x 16”.
Stabilizer
This project uses Machine Embroidery Stabilizer. This material provides a stabilizing backing for creating even stitches when performing free motion machine embroidery.
Supplies
Fabric (choose your own colors: I will refer to objects in the photos)
16” x 16” piece of background fabric (yellow print)
8” x 6.5” sky fabric (blue)
8” x 2.5” piece hills fabric (floral)
2.25” x 12” (two pieces) top and bottom window sill fabric (cream print)
2.25” x 8” (two pieces) side window sill fabric (cream print)
8.5” x 11” piece of cat fabric (black)
Applique Pressing Sheet
An applique pressing sheet is a must for layered applique. Pieces stick to one another - not to the sheet. Very nice for making appliques. For more instruction on using these sheets, go to: Applique Sheet Sewing Lesson.
Other
Stabilizer for machine embroidery or machine applique
Embroidery Thread: for machine or hand embroidery
8.5” x 11” piece of fusible web (also called iron-on adhesive)
For more instruction on using fusible web, go to: Applique Sheet Sewing Lesson.
Spray Starch: to stiffen pieces - helps when sewing them into place. This is only needed if you are not using iron-on adhesive (fusible web).
Pattern
We provide a free pattern. Enlarge or shrink per your needs.
If creating a wall hanging:
16” x 16” piece of backing fabric (if creating a wall hanging, you will need backing fabric)
Your choice of fabric for hanging sleeve (4” x 12”) - needed for hanging your wall hanging
1.5” x approx. 80” background fabric for binding (or use ready-made binding)
DIRECTIONS
The body of the cat is slightly stuffed, giving it a nice 3 dimensional look.
A note about applique:
Use your favorite applique method for attaching the cat pieces to the background block.
If you wish to hem under the edges of the cat pieces, add 1/4” around all pattern pieces. For an easier method, cut the pattern pieces as they are, and use fusible web to quickly and easily attach the pieces; then use paint, hand or machine stitching to further secure the edges. I recommend satin stitching. Remember to leave an area open for stuffing.
A note about the pattern: The pattern is backward. I created it that way so you can trace the pieces onto fusible web (which is on the BACK side of the fabric pieces).
Assemble The Background Layer
1. Stitch the sky to the ground, right sides together. Press seams.

2. Stitch the two side window sills to the grass-sky block. Press seams.

3. Trim your block even on all edges. It should measure 8.5” x 11.5”, but this is not all that important. What is important is that it be even at this point. No one will notice if your sills measure a bit wider or more narrow, but they will notice if the sills are not straight.

4. Stitch the top and bottom sills. NOTE: they will extend 1/4” beyond the edge of each end of the block (the top and bottom sills are 12” and the block is 11.5”). Press seams.
5. After all the sills are stitched onto the block, trim again as necessary.
6. Lay the cat pattern under the piece of fusible web (fusible web should be paper side up). Trace the cat pattern onto the fusible web. Use a window or light box if necessary (or you can cut out the pieces and trace around them).
Following instructions for your fusible web, iron the web (with pattern traced onto it) onto the WRONG side of the cat fabric. Cut out the cat and tail. Remove the paper backing from the cat and tail fabric pieces.

fusible web on wrong side of fabric
7. Check Placement. Lay the window block onto the 16” square background piece (yellow). Lay the tail down; lay the cat over the tail. DO NOT iron anything at this point; you are just checking placement.
When happy with the placement, remove the cat pieces and pin the window block into place. The window block should be centered horizontally. It should be approximately 3” from the bottom edge of the background (yellow) piece. Use your own judgement on placement, but be sure the window is straight and allows for the cat tail to have space.
8. Baste the window into place, stitching close to the edges (1/8” from edge) or hand applique the window block into place.
HINT: If using machine applique stitching, I recommend a satin stitch. Place stabilizer under your piece before attempting machine applique or machine embroidery. I cut the stabilizer (tear-away type) a little larger than the window block. Basting the piece in place before stitching with a satin stitch is important. It will hold your piece while you stitch. It is very difficult to remove satin stitching, so it is important that the piece be held securely.

9. Place the cat and tail onto the lower sill (tail goes down first). When you are happy with the placement, remove the cat body and iron down the tail, following directions on the fusible web package.
10. Take a bit of stuffing and place it on the area where the cat body will be. Place the cat body over the stuffing and iron the cat body into place, following directions on the fusible web package. Be sure to press securely around all edges.
HINT: Do NOT overstuff the body area. Do not allow the stuffing to get too close to the edges; a good bond is needed along the edges.
Allow to cool. Baste around edges of cat body; satin stitch (or hand applique stitch and turn edges under).

Add machine or hand embroidery at this point. I used free motion machine embroidery and Sulky Blendable® threads. I love that thread because it is variegated.
Finish Wall Hanging, Quilt Block, Or Pillow
Use the following links to learn about finishing wall hangings and quilts, and assembling a pillow to display your cat applique block on.
Sewing Lessons


Pet & Animal Projects


Learn Intarsia and Tapestry crochet. Bring Hygge into your home with this cozy, Scandinavian minimalist Christmas tree design. Use for wash cloths, pillows, hot pads.