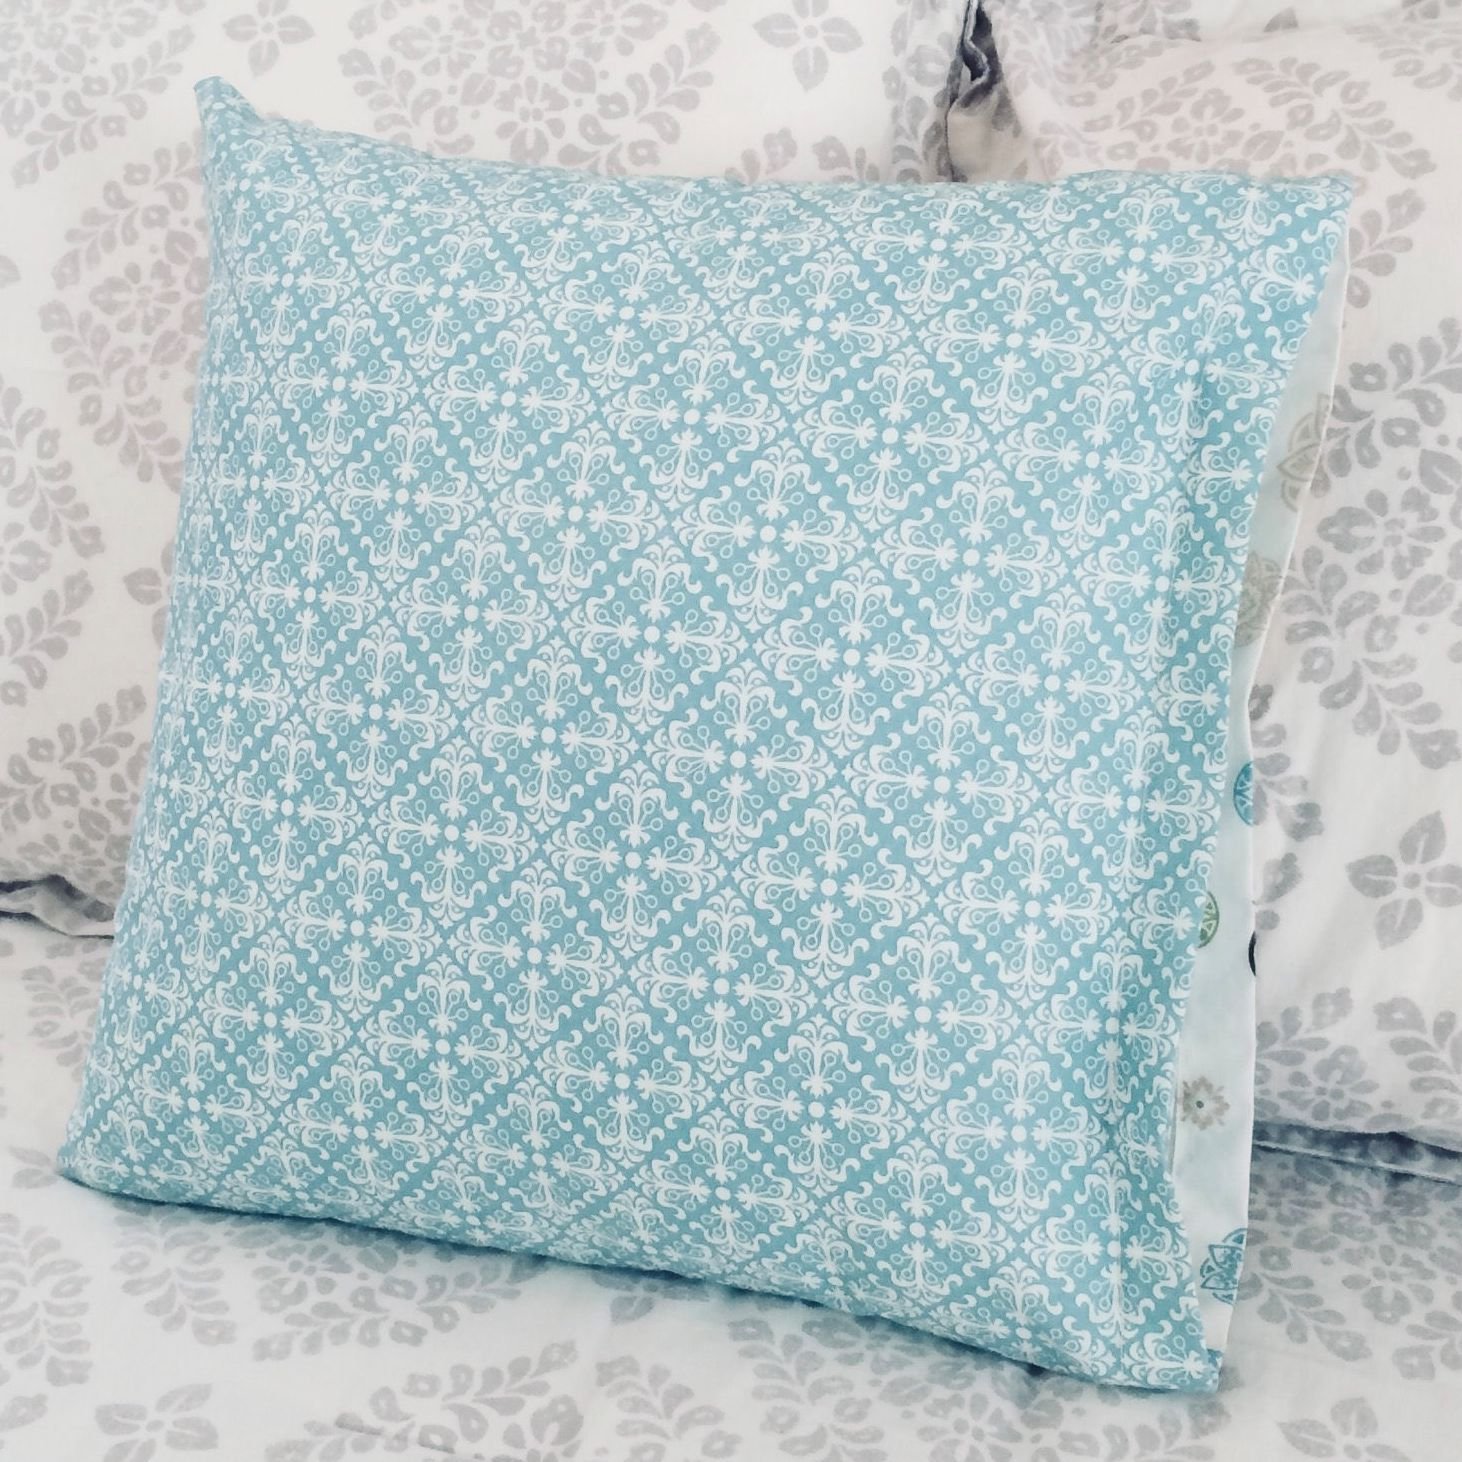
Envelope Back Pillowcase
Disclosure: This site contains affiliate links. As an Amazon Associate, I earn from qualifying purchases. Clicking on links, and purchasing products, may result in the seller paying us compensation - at no extra cost to you. Affiliate links are in green.
Great “beginner” sewing project. Practice straight stitching.
Also see:
Notes From The Workroom & Trail
Easy Sewing Patterns
Furniture Projects
Craft Projects
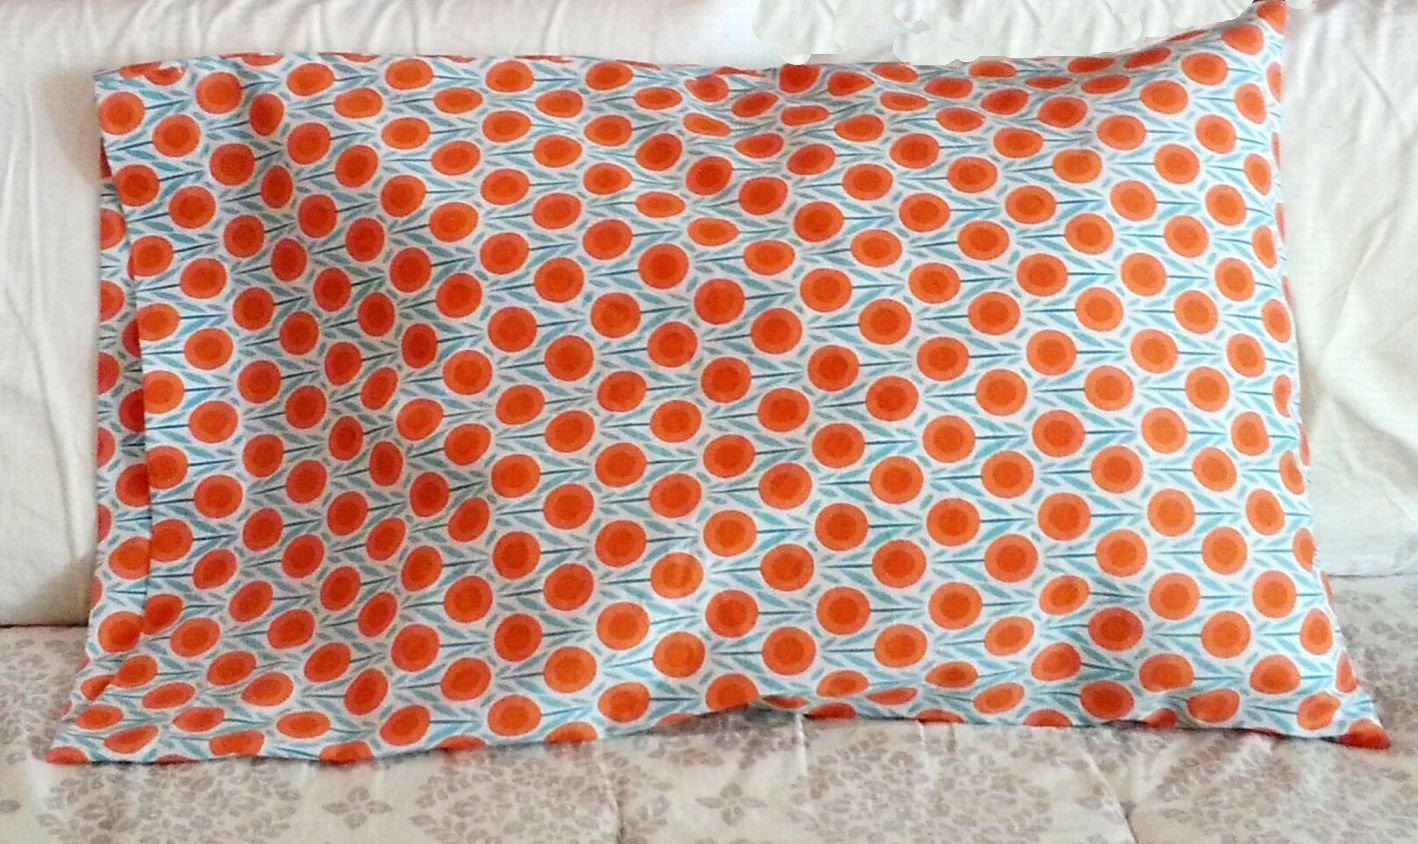
Envelope Back Opening
The pillow stays securely in the pillowcase.
Super easy! Just three pattern pieces. This easy pattern has so many uses! Create decorative pillows for your bed. Make pillowcases that your pillows won't fall out of. Unlike a regular pillowcase, this pillowcase is closed on each end. An envelope back opening allows easy removal of the pillow so the pillowcase can be laundered.
Cover an old pillow for an instant, soft dog or cat bed.
Pillowcase Size

I made my case to fit a standard size pillow. For pillow sizes see my basic pillowcase pattern. Adjust for larger pillows. My directions explain how to compute the fabric needed for your pillow size.
I used this same method to make my basic square pillows.
Cutting Tools
I recommend using a Rotary Cutter, Cutting Mat and Sewing Ruler. I use these tools for most projects. They allow for easy, precise cutting. Visit the Amazon links at the bottom of this page to purchase these tools, fusible fleece, insul-bright, heat resistant cloth, quilting pins, and other items I use in my projects.
PRE-WASH, DRY, & PRESS ALL FABRIC BEFORE USING
DIRECTIONS
NOTE: All seams 1/4"
1. Compute / Cut Fabric
Measure your pillow. Write down the length and width. For the front piece, add 1/2" to the length and width measurements. For example, if your pillow measures 20" x 25", your Pillow Front piece should be 20.5" x 25.5" (if you want the cover to be snug, you do not have to add the 1/2").
For the pillow back piece, add 8.5" to the length and 1/2" to the width (if you want a snug fit, do not add the 1/2" to the width, and add only 8" to the length). For example if your pillow measures 20" x 25", your back piece will be 20.5" x 33.5".
Cut your front and back pieces. Set aside the front piece.
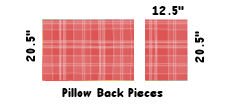
2. Cut Back Into Two Pieces
Cut back piece 12.5" from one end. NOTE: 12.5" works for any pillow size. Refer to the following image.
3. Hem Back Pieces
Serge or zig zag across one end of each back piece. Fold under 2" and press with iron. Stitch hem in place. Refer to the following diagram.

4. Assemble Front & Back Pieces
Lay down front piece, right side up.
Lay down longest back piece, right on top of front piece, wrong side up. The hemmed edge is toward the center. Line up unfinished edges and pin back piece to front piece. Refer to the following photo.
NOTE: photo shows shorter piece laid down first, wrong side up, over the front piece, but it is easier to insert pillow if longer back piece goes down first. Either way works, but I decided that after I stitched this project together.

Lay down second back piece on top of first piece, wrong side up, on the opposite end. The hemmed edge is toward the center. The two back pieces will overlap at their hemmed edges. Line up unfinished edges and pin all layers together. Refer to the following photo.
NOTE: photo shows larger back piece on top, but it is easier to insert pillow if longer back piece goes down first.
The important thing is that you now have the front and back pinned together, right sides together, and the back pieces overlap at their hemmed edges.

5. Stitch Layers Together
Baste around all four sides, through all layers, 1/8" from edge.

Stitch around all four sides, through all layers, 1/4" from edge.
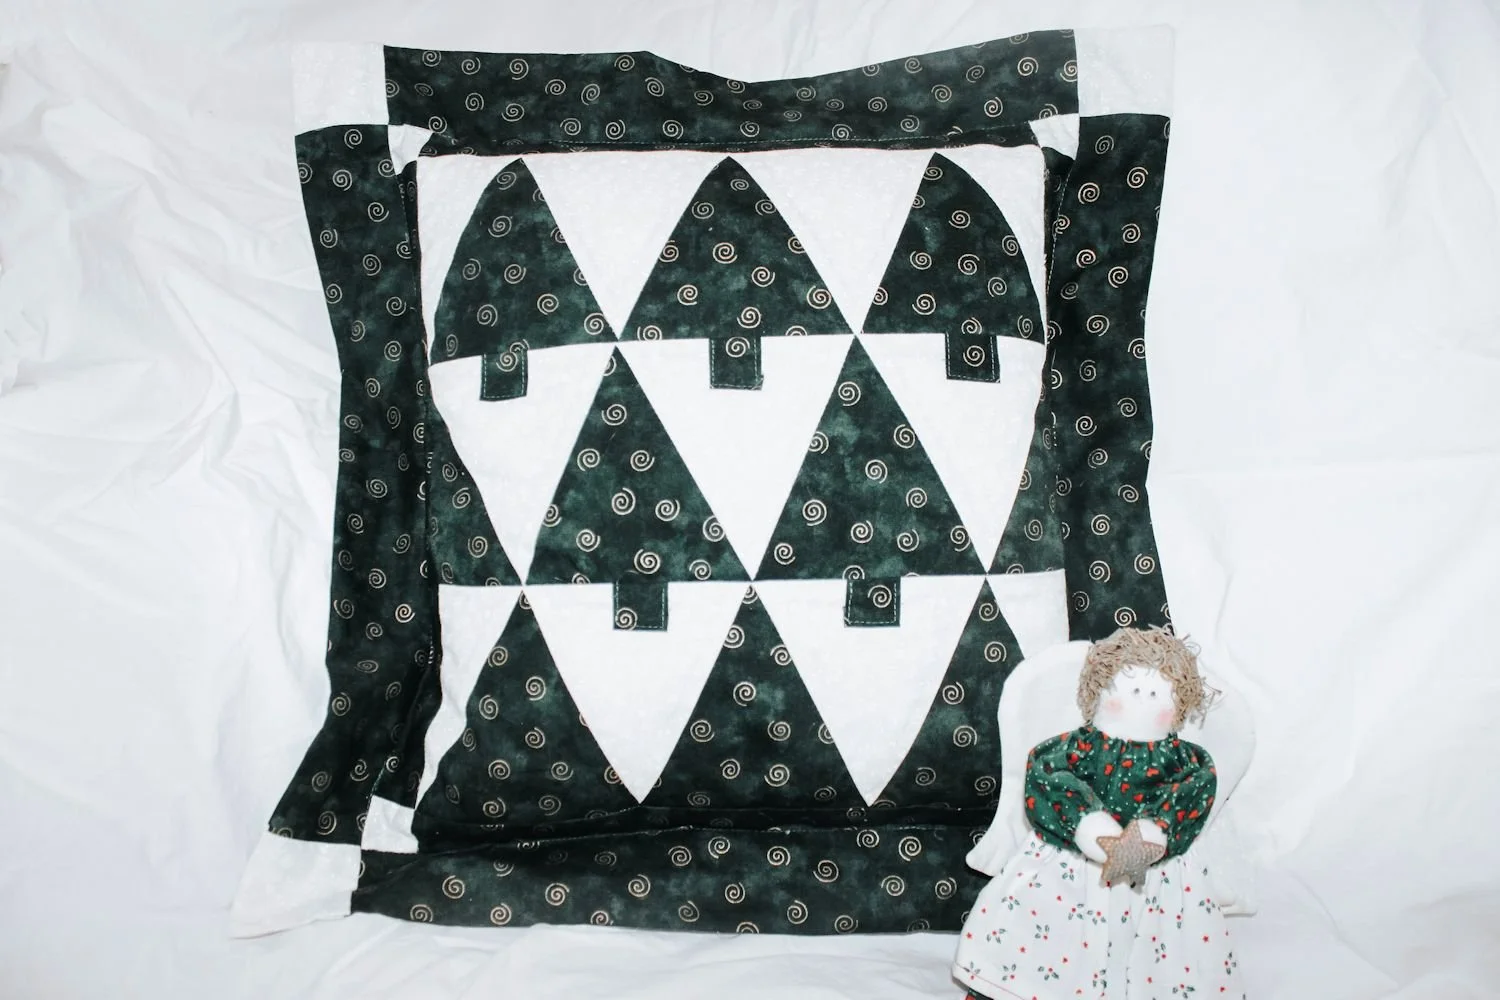
Turn right side out, using back opening for turning. The photo shows the envelope opening on the back.
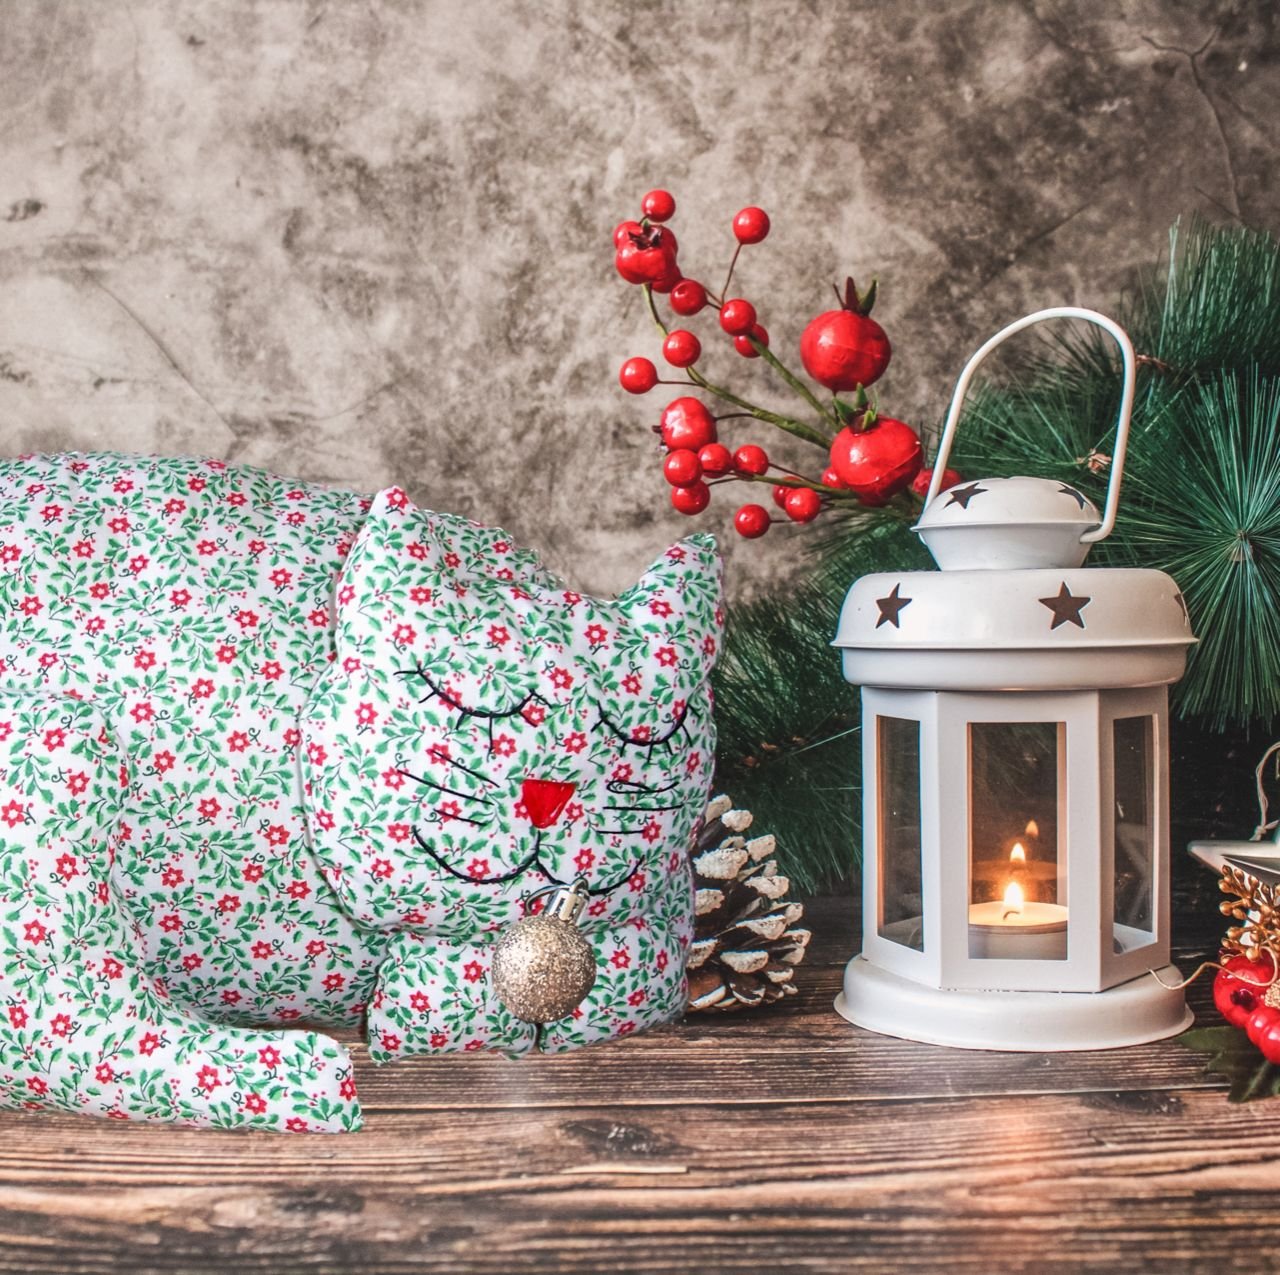
SHELTER PET BED
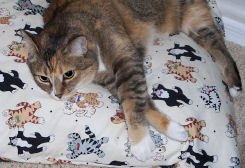
A visitor of CraftAndFabricLinks.com (our previous site, where our pattern first appeared), used our free pattern to make 12 pet beds for an animal shelter. What a wonderful thing for her to do for local animals! Debbie said, "Your pattern is so easy and fun to put together. I tested each pillow as I finished them to see if they were pet worthy. My cat took a nap on each one so I knew then that they had passed the test."

Super easy! Your cat or small dog can enjoy seeing the outdoors during cold winter days.
More Fun Pillows - dress up your rooms


Tips From The Workroom & Trails


Nicely constructed pillowcase with contrast cuff and piping trim. Cuff is nicely finished on the inside. Free sewing pattern with directions for standard, queen and king.